Petal Lifter Tutorial
Here is a quick tutorial on how to use my petal lifters. They are designed to work in very tight areas where an undercut beveler wouldn’t fit. Lifting brings stunning 3-D relief to a what would otherwise be a flat and lifeless floral carving.
The photo below shows an example of a flower that has been shaded and beveled. All of the work with stops, mule’s foot, veiners and seeders should also be completed at this point. The only work remaining should be decorative cuts and backgrounding. You don’t want to do your decorative cuts before you do your lifting because the cuts may close up when the leaf or petal is lifted. You’ll see in the photo that the flower looks flat and uninteresting.
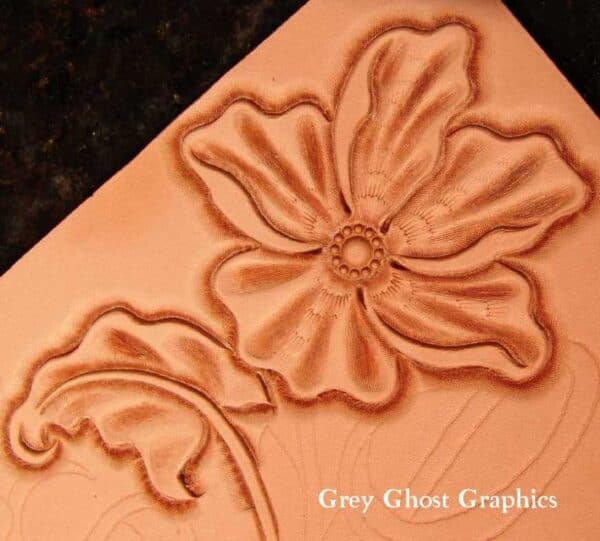
In the photo above, notice the ridges between the troughs created by the pear shader. This is the portion of the flower that will be lifted. Generally you can lift anywhere that a concave or inward curve occurs in the design.
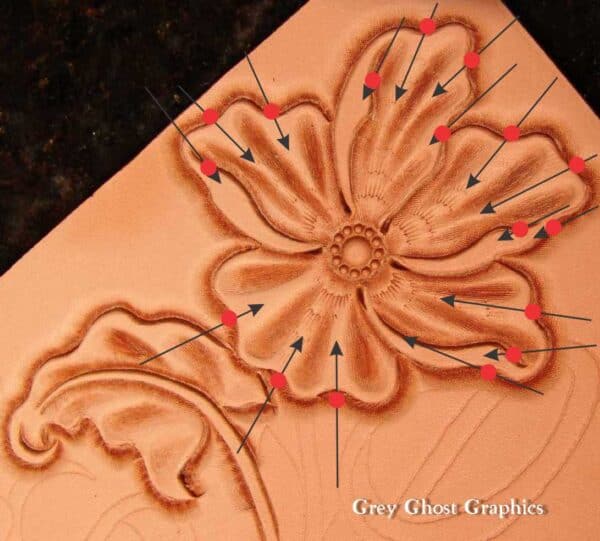
The arrows show the direction that the lifter is pointing as you enter the edge of the flower. The red dot shows the point of entry.
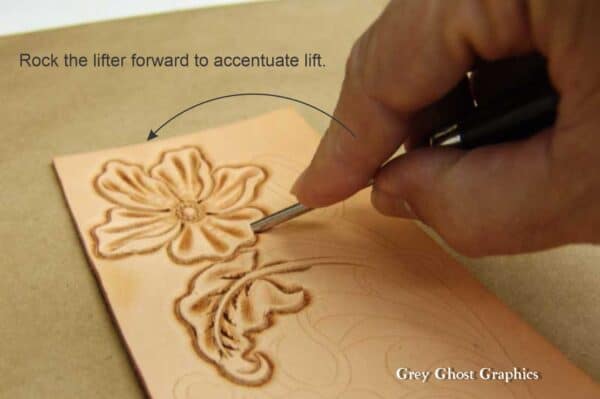
In the photo above you can see that the tip of the lifter is placed in the concave curve of the petal and is angled so that the cutting edge is resting at the point where the edge of the petal and the background area meet.
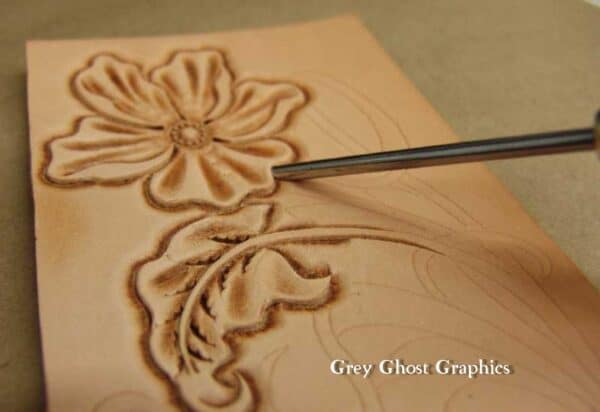
The lift is executed by carefully pushing forward with a wiggling motion. Go in about 1’8” – 1/4” depending on the size of the design. Use a lifter that is big enough to create the size lift you are after but not so large that it tears the flower petal away from the leather. In the photo below you can see the lifter being rocked forward to accentuate the height of the lift. This should be done carefully to avoid tearing.
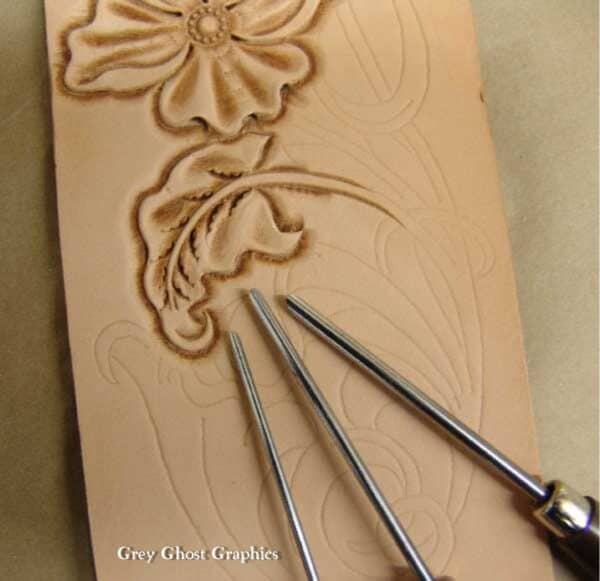
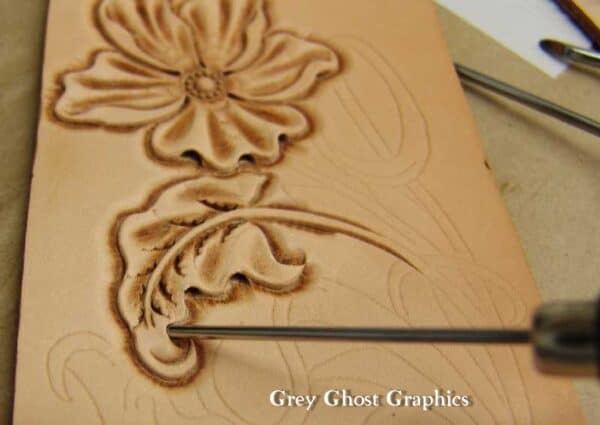
The photo above shows how different sizes of lifters are used on a design. It creates a more natural appearance because not all of the lifts are the same size.
Lifting using the small (#1) lifter
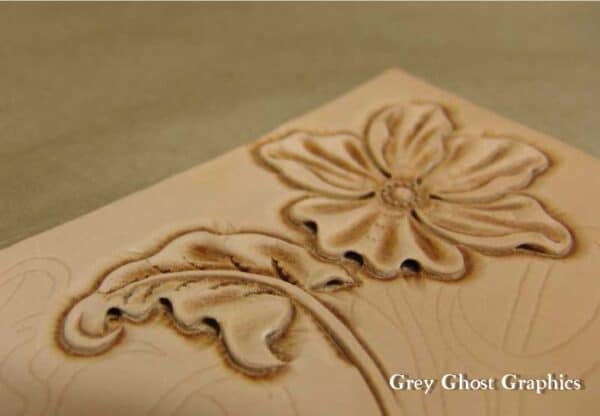
All lifting is completed!