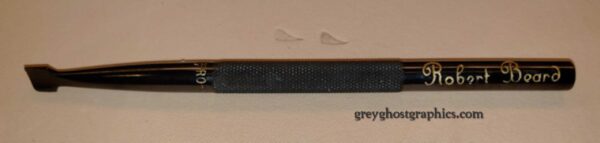
The Mosby Rope Tool
This tool came about when I was modifying a triangle tool to make a more realistic rope. Once I perfected it I sent it to Robert Beard of Pro Series Tools to have a “real one” made. He liked the idea and decided to offer it as part of his tool line.
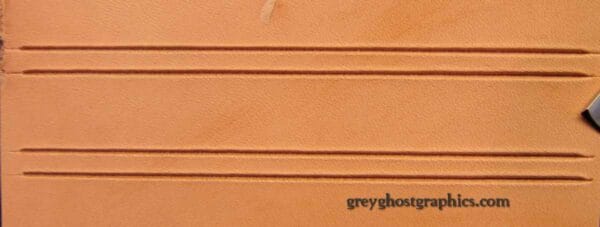
Cut two parallel lines the thickness of the rope that is desired.
For inverted rope, bevel the inside edge of the line using a steep angled bevel (top).
For raised rope, bevel the outside edge of the line using a standard bevel (bottom).
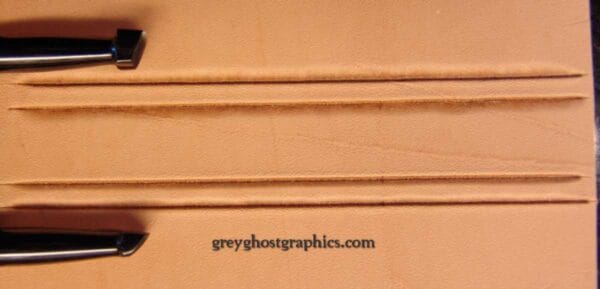
Stamp one side of the rope with the flat edge of the tool set against the line of the
rope as shown. Tip the tool back slightly toward you and strike lightly. Advance the
tool (working away from you) placing the stamp so that the narrow tip of the
too is set at the end of the previous impression. It should resemble the picture above.
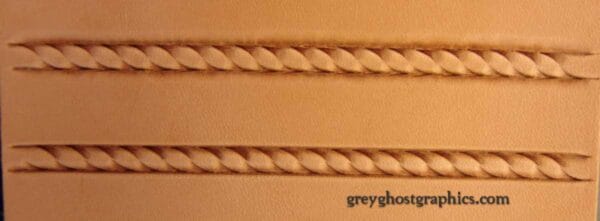
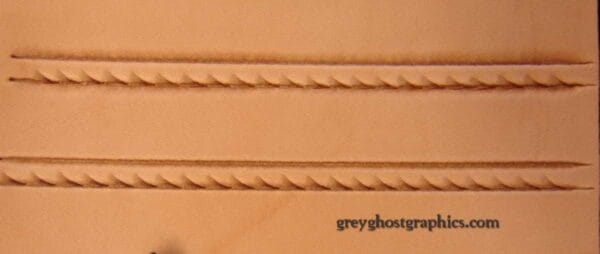
Flip the project and stamp the opposite side. Begin the first impression so that it forms
an “S” curve with the impression on the other side.
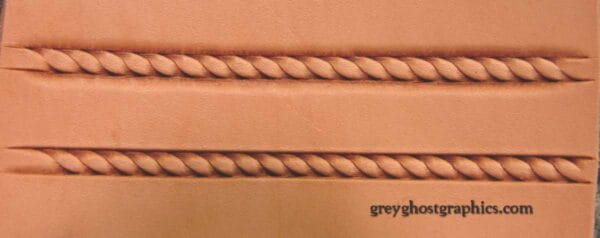
To complete the look, lightly cut a line between the two impression to emphasize the “S” curve.