How to run a straight basketweave.
I always like to give credit where credit is due. I first saw the method when George Hurst demonstrated it at a trade show in Rome, GA. I was so impressed with how this worked that I immediately began using it on all of my basketweave projects.
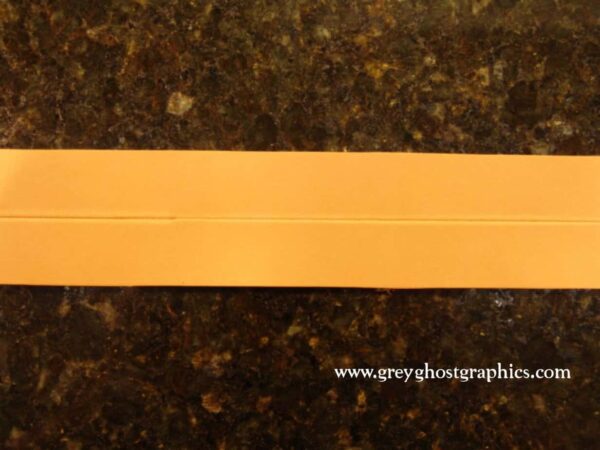
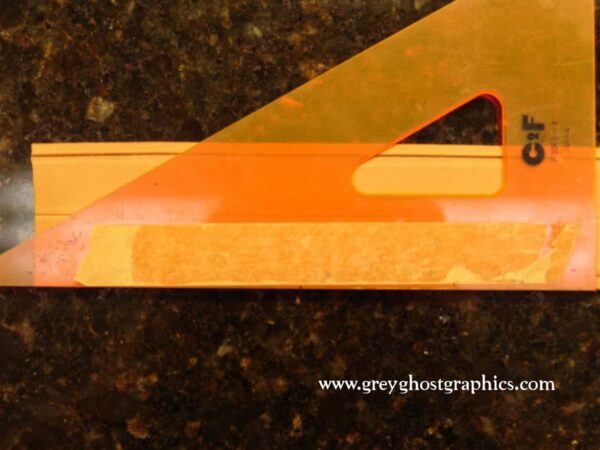
Using a 30/60 triangle and 30 degree guideline is lightly scribed across the project. Place the mark so that you have room to stamp one basketweave impression to the left of the guideline.
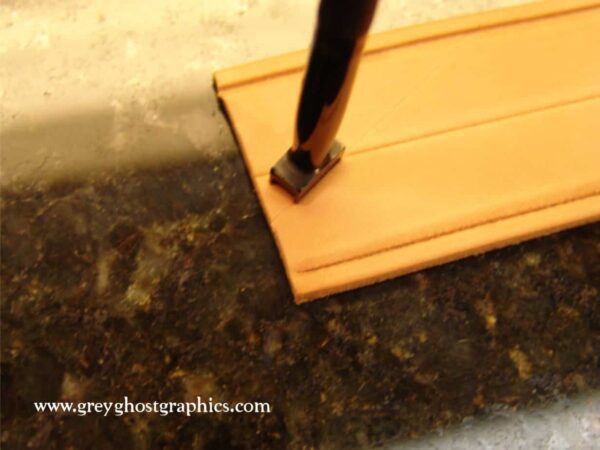
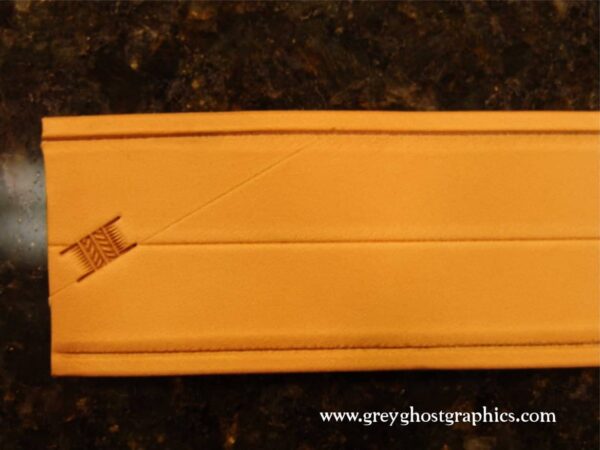
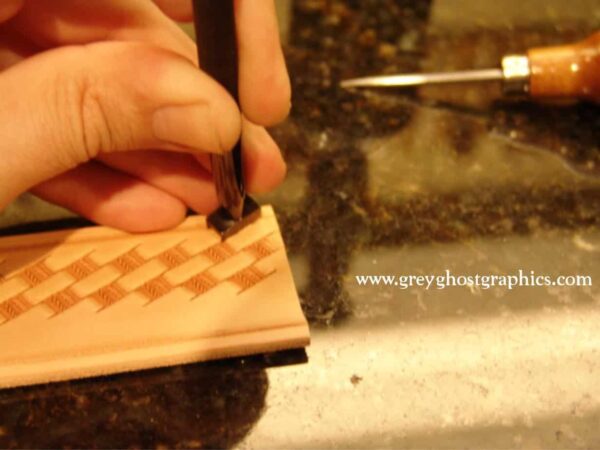
Begin stamping by placing the basketweave stamp as shown with the bottom edge of the stamp on the 30 degree guidline. The right side of the bottom leg should meet the junction of the 30 guide and the center guide as shown.
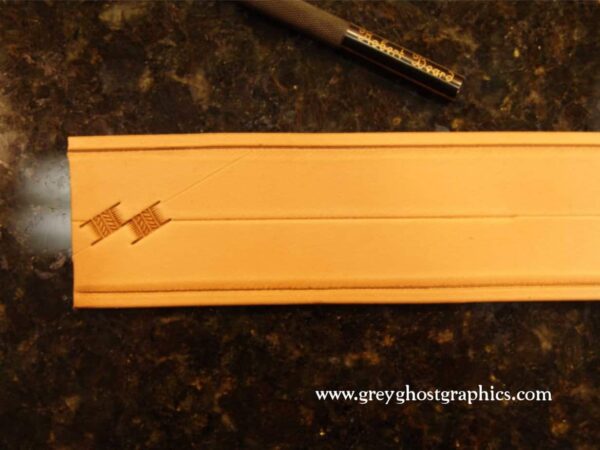
Stamp the second impression to the right of the first. Overlap the top left leg of the new impression with the bottom right leg of the first impression. It is important to line up the bottom right leg with the center guideline as shown. This is what keeps the basketweave running straight.
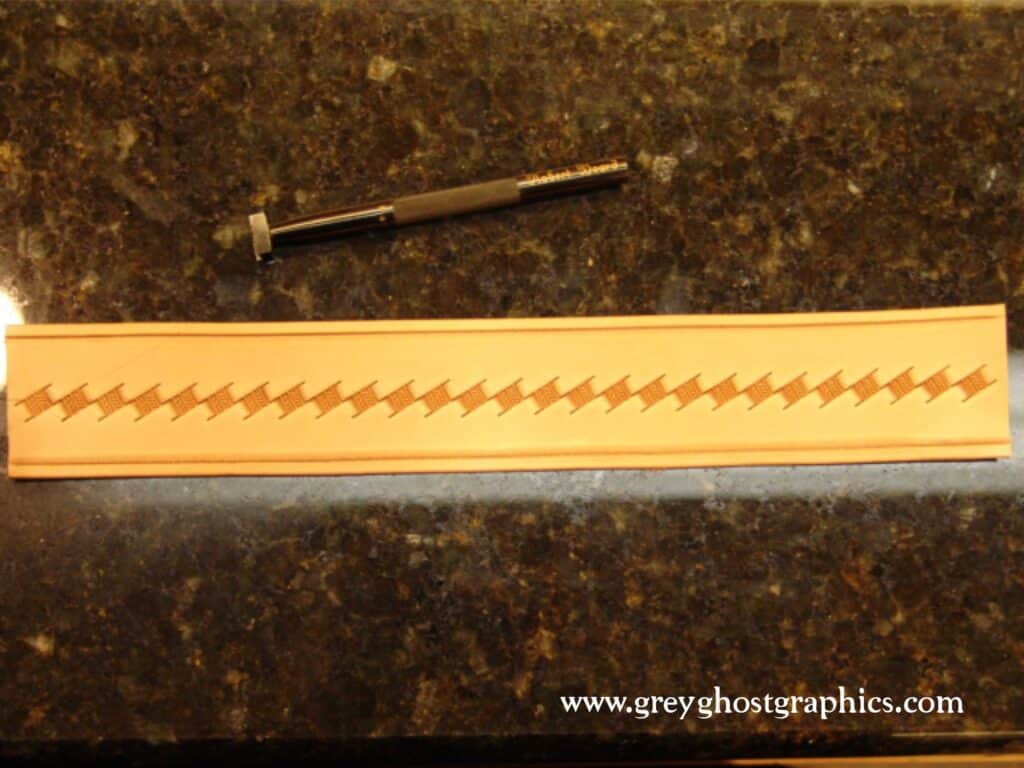
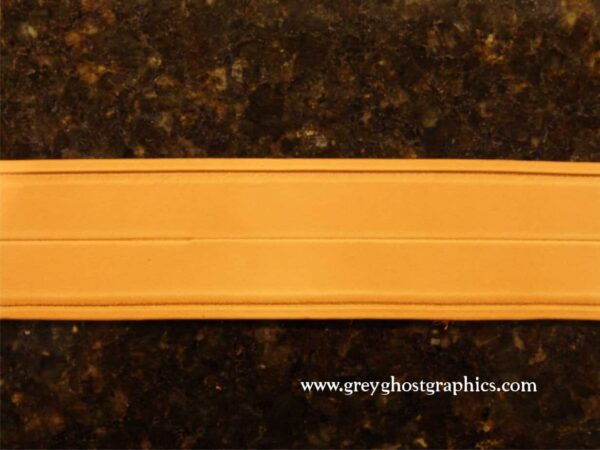
Continue stamping impressions to the right, repeating the alignment perameters that you used on the previous two impressions. When you are finished with the first row it should be perfectly centered between the borders as shown.
Scribe a couple of guidelines as shown to aid in lining up the stamp for the second row of impressions. As you gain skill and confidence you will not need these guidelines.

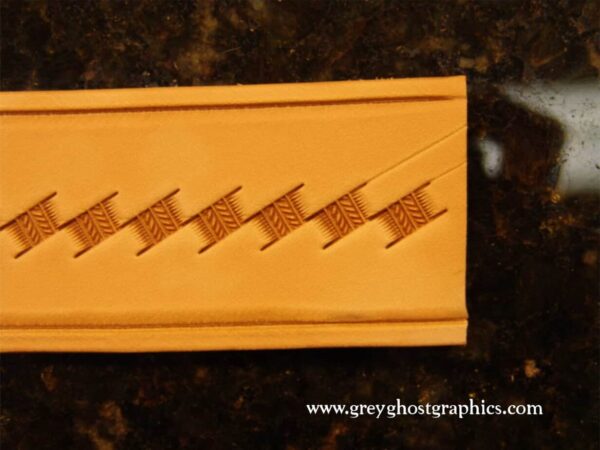
This time, working from right to left, stamp the impressions as shown. Taking care to place the stamp perfectly between the lower two impressions,
Stamp the final row on the side by tilting the stamp back away from the border line. You will again be working from right to left. You want to avoid marking the border with the stamp. Any marks that you do make can be erased with a modelling spoon. Also, try not to stamp too deeply near the border since the border tool will be covering this area.
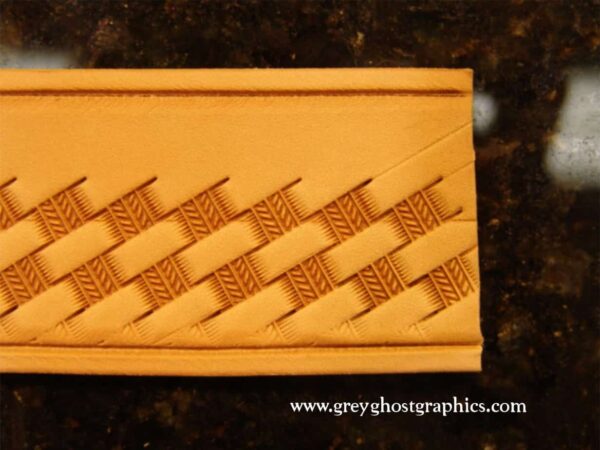
Draw guidelines as shown and stamp from right to left in the same way that you did on the opposite side of the strap.
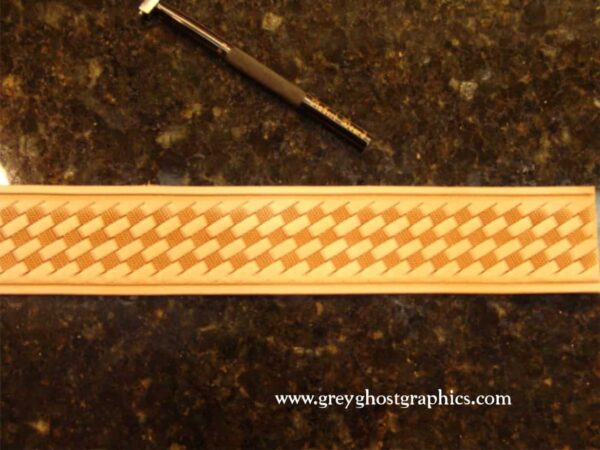
Both sides are now stamped and you are ready to stamp the border. Choose an appropriate border stamp and stamp the border as shown.

The border stamp should be held straight up and down and struck with enough force to yield a strong impression.

The completed project with a nice, straight basketweave pattern.